Environment setup to contribute to GNOME
This is the first post related to contributing to GNOME, where we will talk about the files project and our roadmap to setup the development environment
GNOME is an open source desktop environment for Linux, being responsible for all the visual aspects and native linux apps. Me and Isabella are joining forces again to start contributing to this tool by the influence of some friends, who have already contributed some times and came to the open source software development class to show everyone how to start contributing. For this step on this class, we could chose one in a list of tones of open source projects to contribute, but GNOME caught our attention since it was well organized on gitlab, and some of the apps had newcomers tag on some issues.
In this post, we will introduce the GNOME project we want to contribute and explain how we setup an environment in order to contribute to this project.
The Files project
The files project, also known as Nautilus, is the GNOME app responsible for files management on Linux, published under GNU3 license.
When accessing the repository for the GNOME Files, we felt a little overwhelmed with the amount of things available. On the other hand, we still chose this project for our first contribution due to its high number of issues to work on. At the moment this post is being written, there are 540 available issues, which is way more than most (if not all) of the GNOME apps, and a great thing here is that the issues are all well documented. The community seems to be a lot active, and the issue we chose was posted 4 days before we started reading about it.
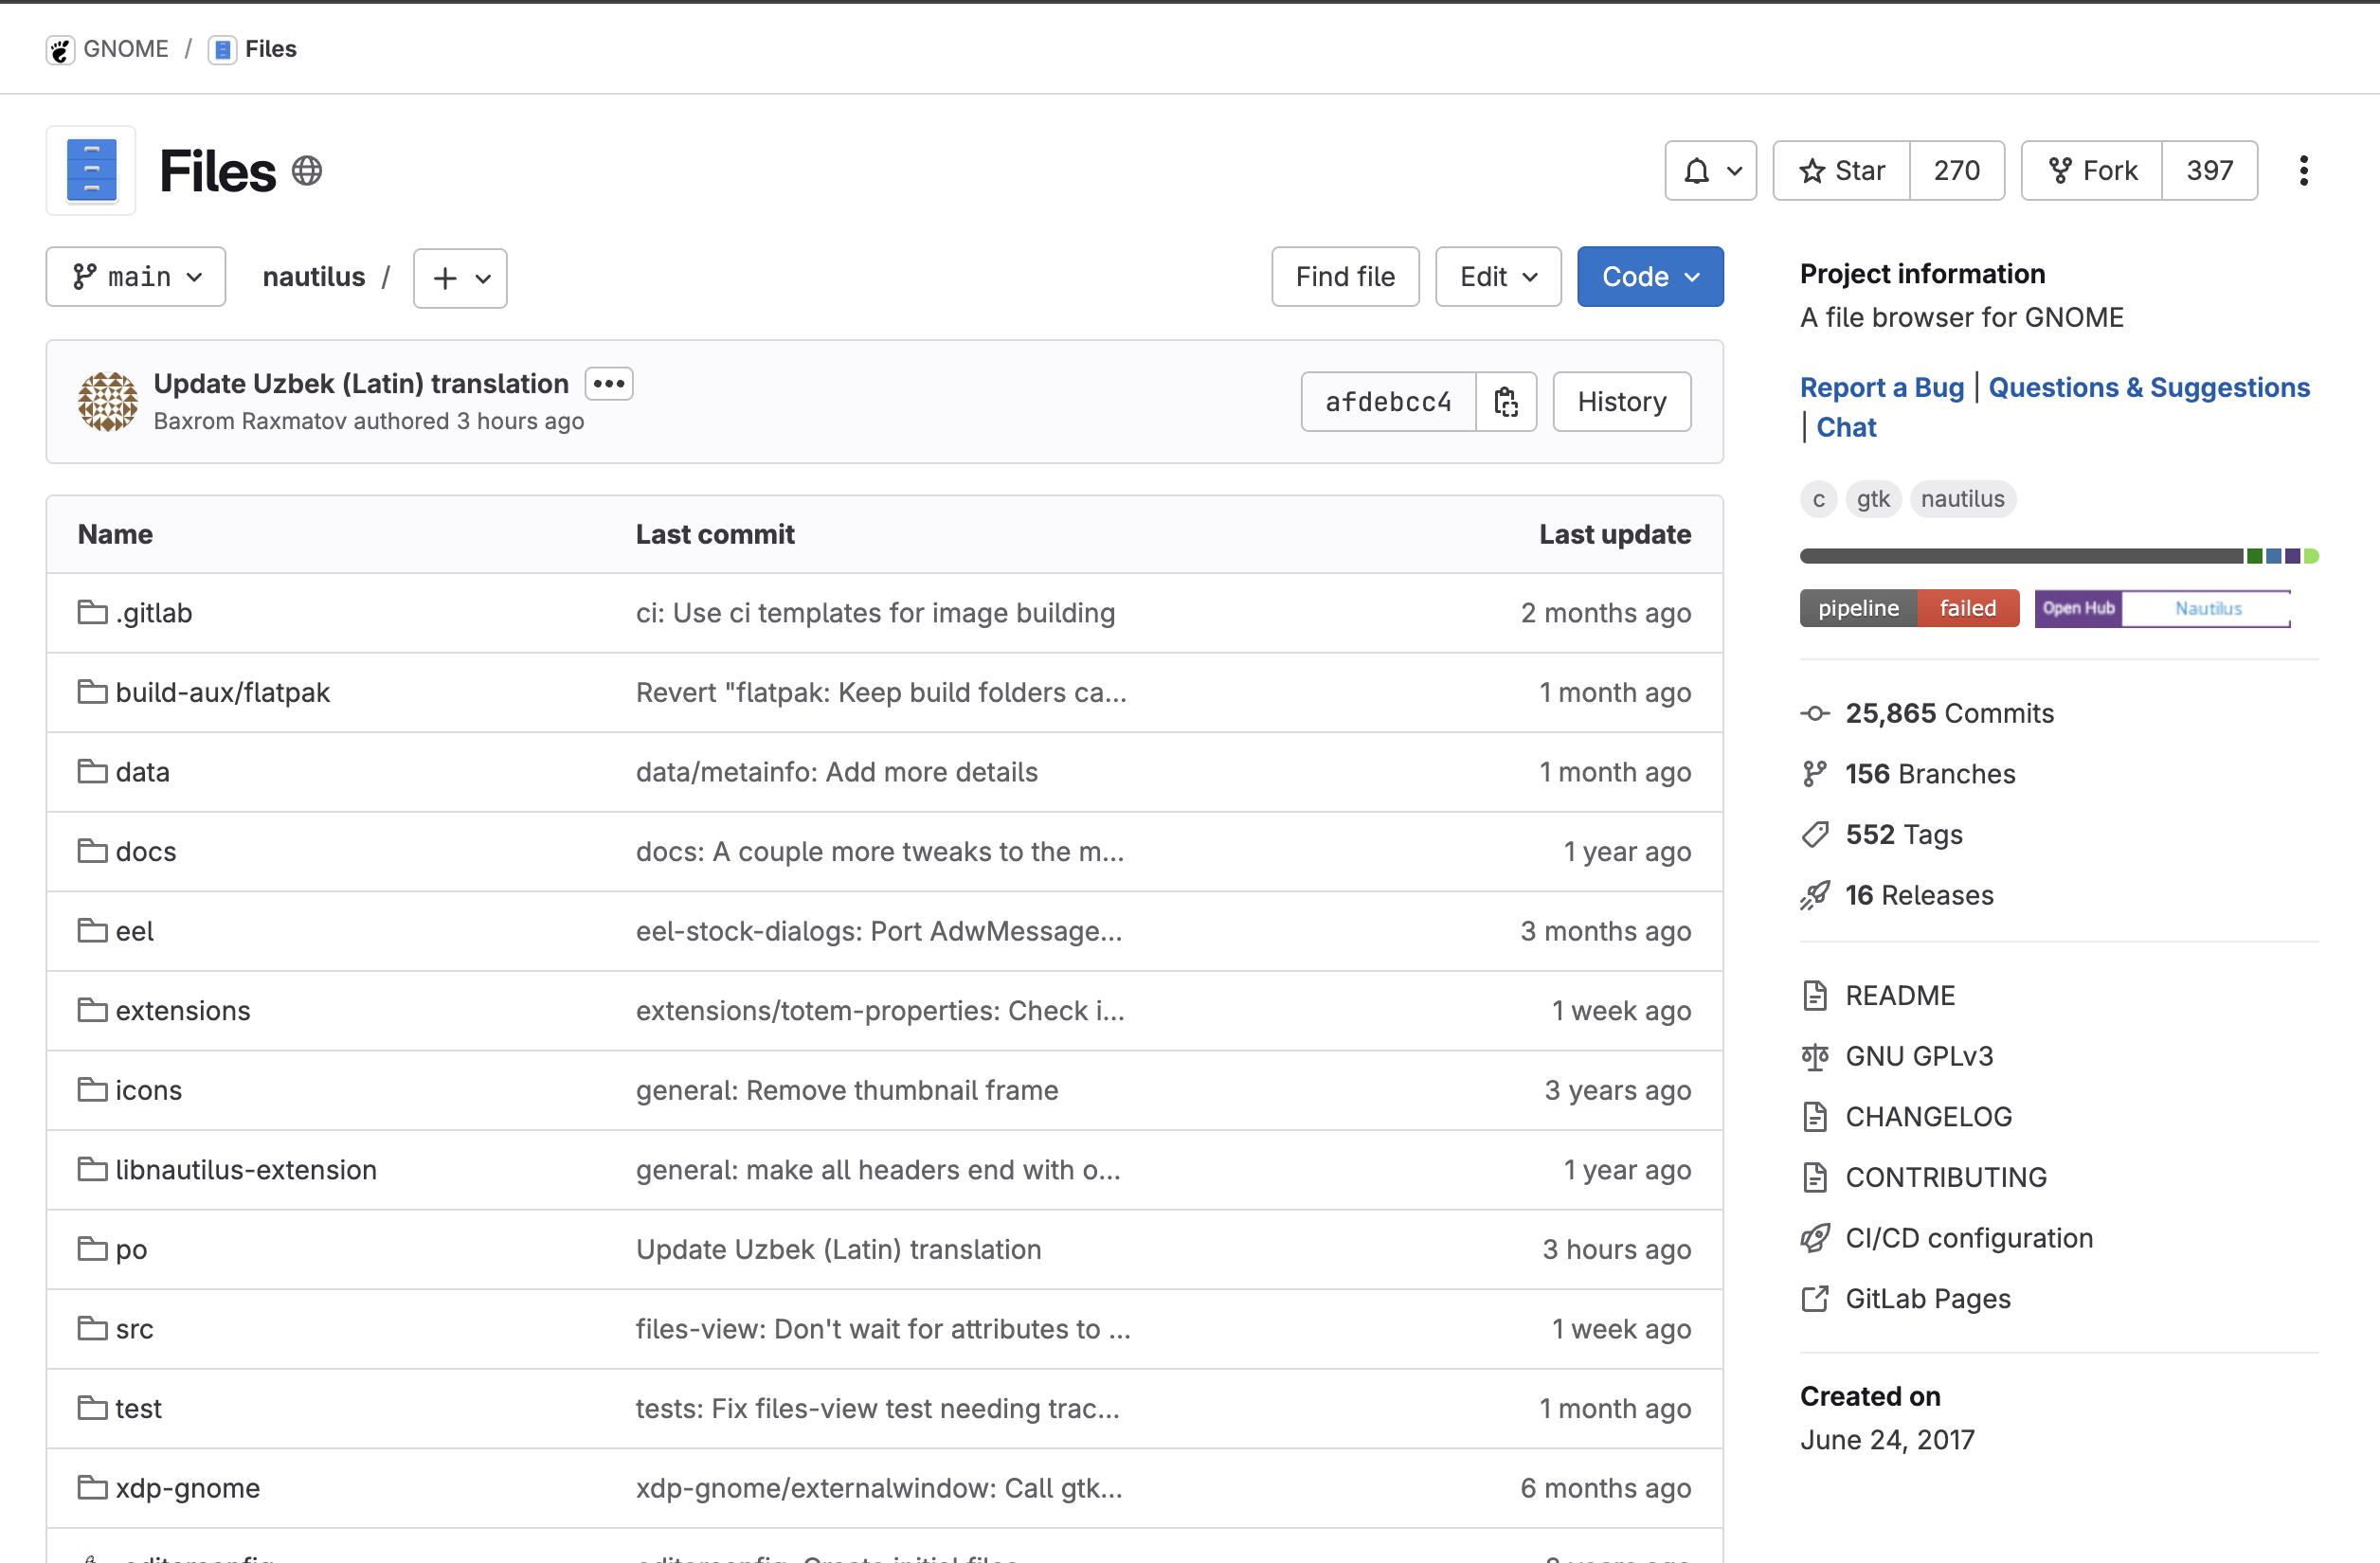 GNOME Files Repository
For most of it, we just jumped on reading issues documented as newcomers and looked for one that we could work on. As a first step, commenting on the issue was ok and got a quick response, which will be explored on the next post.
Environment Setup
For most developers, GNOME would not really need a huge environment setup, at least not bigger than setting up a public key on GNOME Gitlab or something. On the other hand, for MAC users such as myself, developing for GNOME is still really tricky, the same way as developing for the Kernel. That problem may be actually bigger here, because GNOME testing truly needs this access to the visual part of Linux, which I did not have.
After a lot of time thinking about how I would be able to contribute to this tool that caught my attention, I had already decided to dual boot my desktop computer with linux, but this would still be an issue, since I would not be able to test any of the things I do when I’m in class, which is most of the time I will be working on open source projects anyway.
As a miracle falling from the sky, I came across the UTM Virtual Machine, which is a VM optimized for MACOS computers. I felt like it would not hurt to try and see how it would go, so I installed a Fedora Linux (since I saw that it was largely used for GNOME Files issues) and, after a while and some errors, I actually got the VM to work properly.
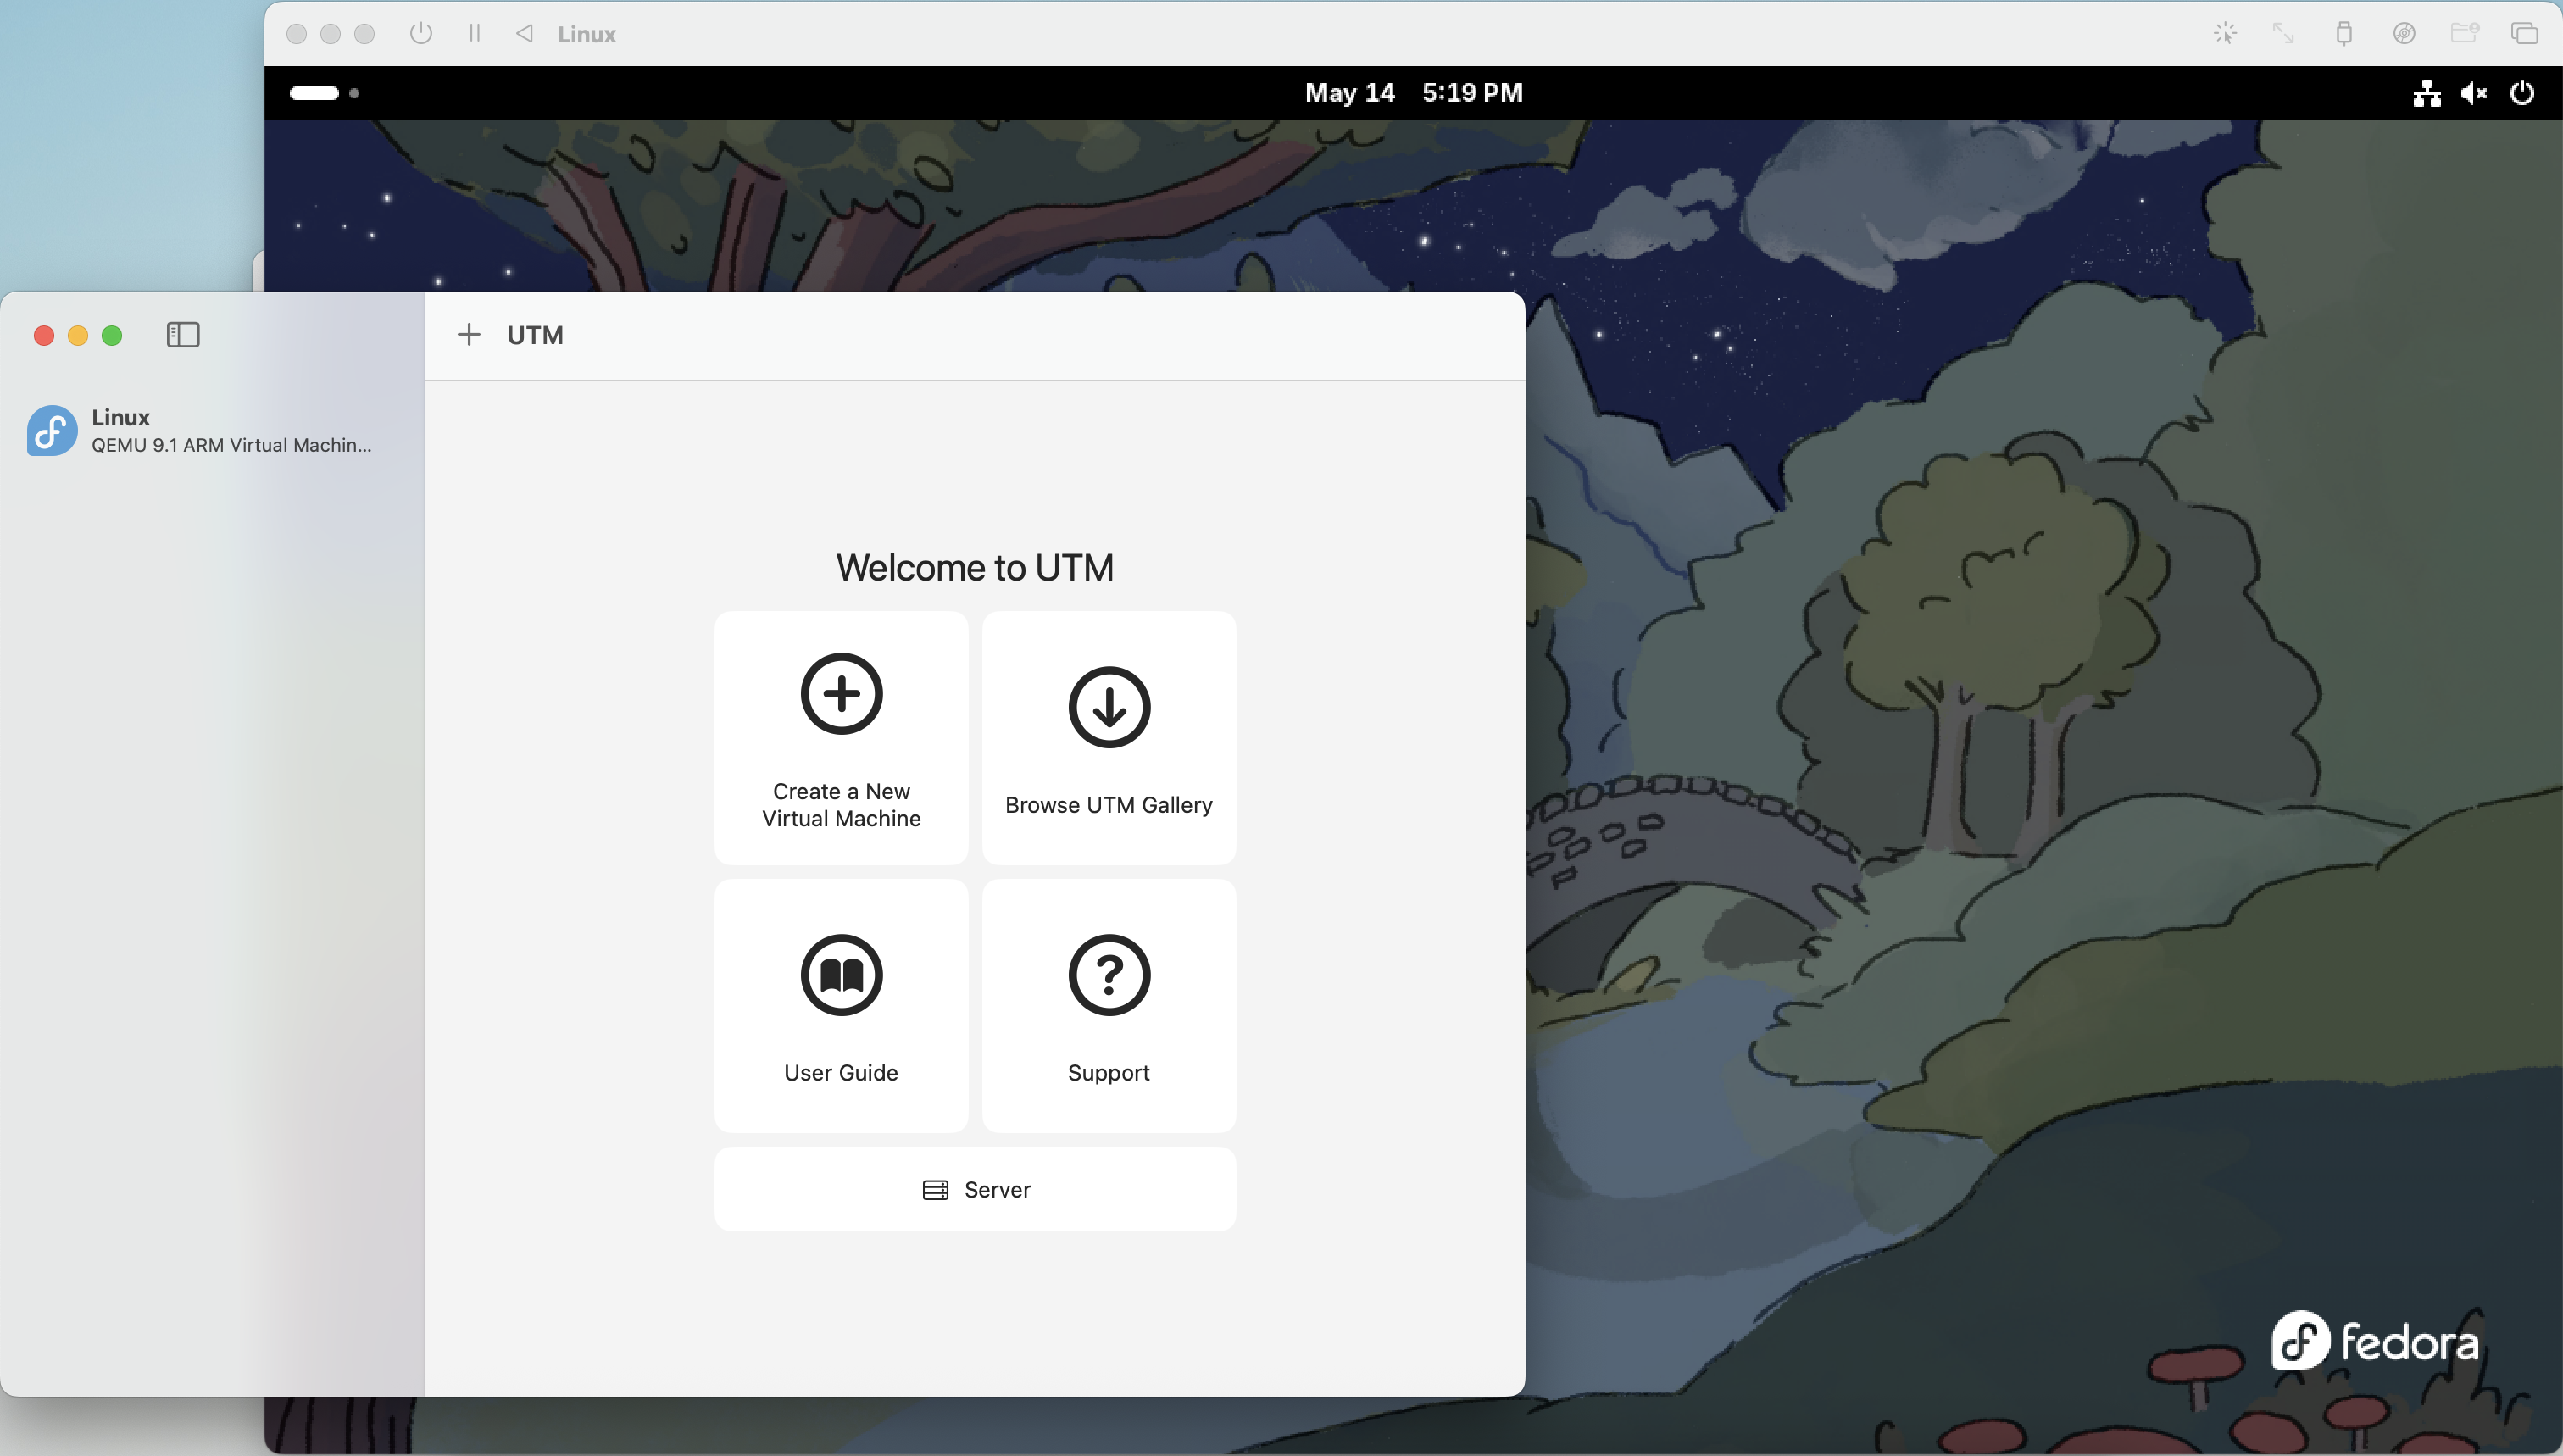 The UTM Virtual Machine running
Given all this situation, I just had to take some time to get used to using linux again, learn some keyboard shortcuts and generate a new public/private key pair, which was enough to run everything. By that, we got the GNOME builder and was able to compile and run the Files project from the repository clone. It has been a great experience so far working with UTM, things run actually quite smooth (considering that its a VM) and the development flow is running great.
This post is used as a checkpoint on GNOME contributions, first started as an assignment on the Open Source development class, at the Institute of Mathematics and Statistics of the University of São Paulo, advised by professor Paulo Meirelles.